how i made realtime "liquid" in a beer bottle in unreal
Why I made this:
Basically, I love Half Life: Alyx. I thought the liquid-in-bottle shader they patched in a month-ish after release was super cool and I still go back to that hotel lounge area sometimes just to hang out and look at bottles. Here, for the uninitiated1
/cdn.vox-cdn.com/uploads/chorus_image/image/66862838/half_life_alyx_booze.0.jpg)
Before I started my internship with Steamroller Technologies this past summer, I had moved into the place I rented for the summer a week before my start date, basically right after getting done with exams. I was really, super, super excited to get started and had absolutely no work to do. It was just me alone in a city I had only previously been to for like, an hour.
So, seeing as I was going to be spending the entire summer seated at a computer, in the interest of a healthy work-life balance, I decided to work nonstop on the computer all week building materials in unreal.
I had sorta just learned that tech art existed, and was really bad at but also really fascinated by materials (and feel similarly now about lower level shader and graphics programming stuff - I’ll get there). So I decided to try and tackle what I thought would be a crazy complex project and emulate the coolest material I could think of, the liquid-in-a-bottle from Half Life: Alyx.2
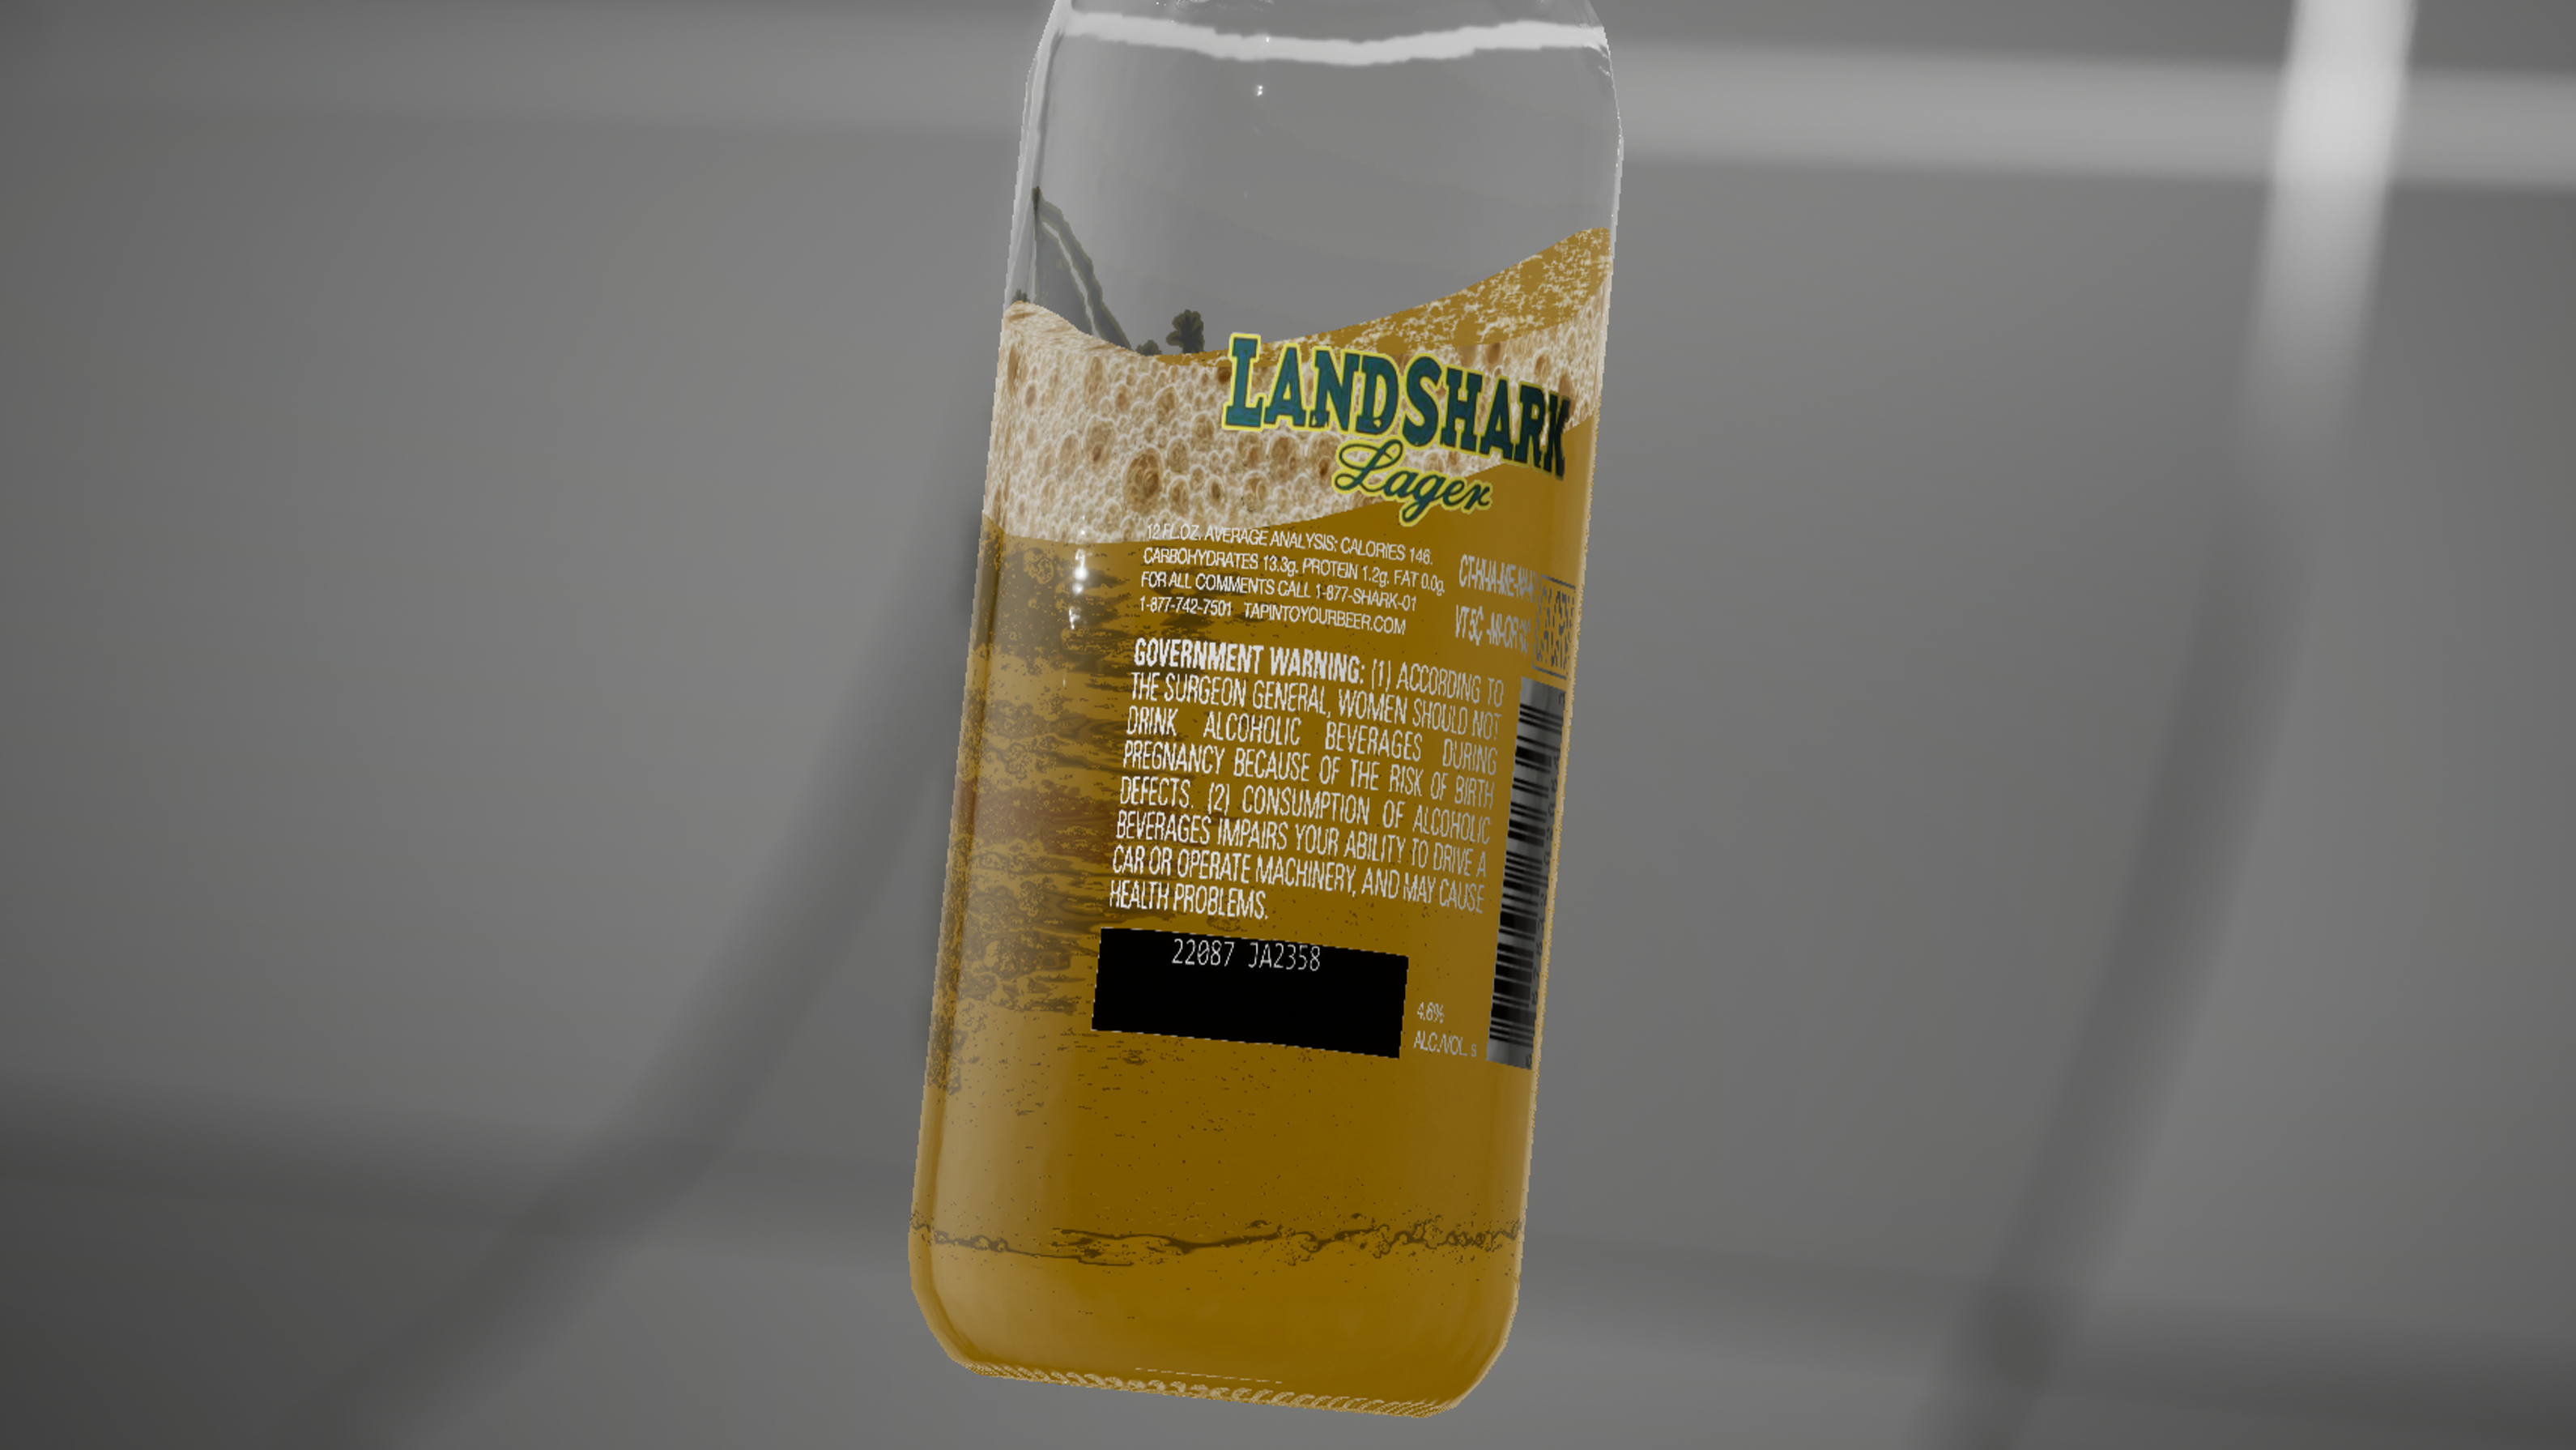
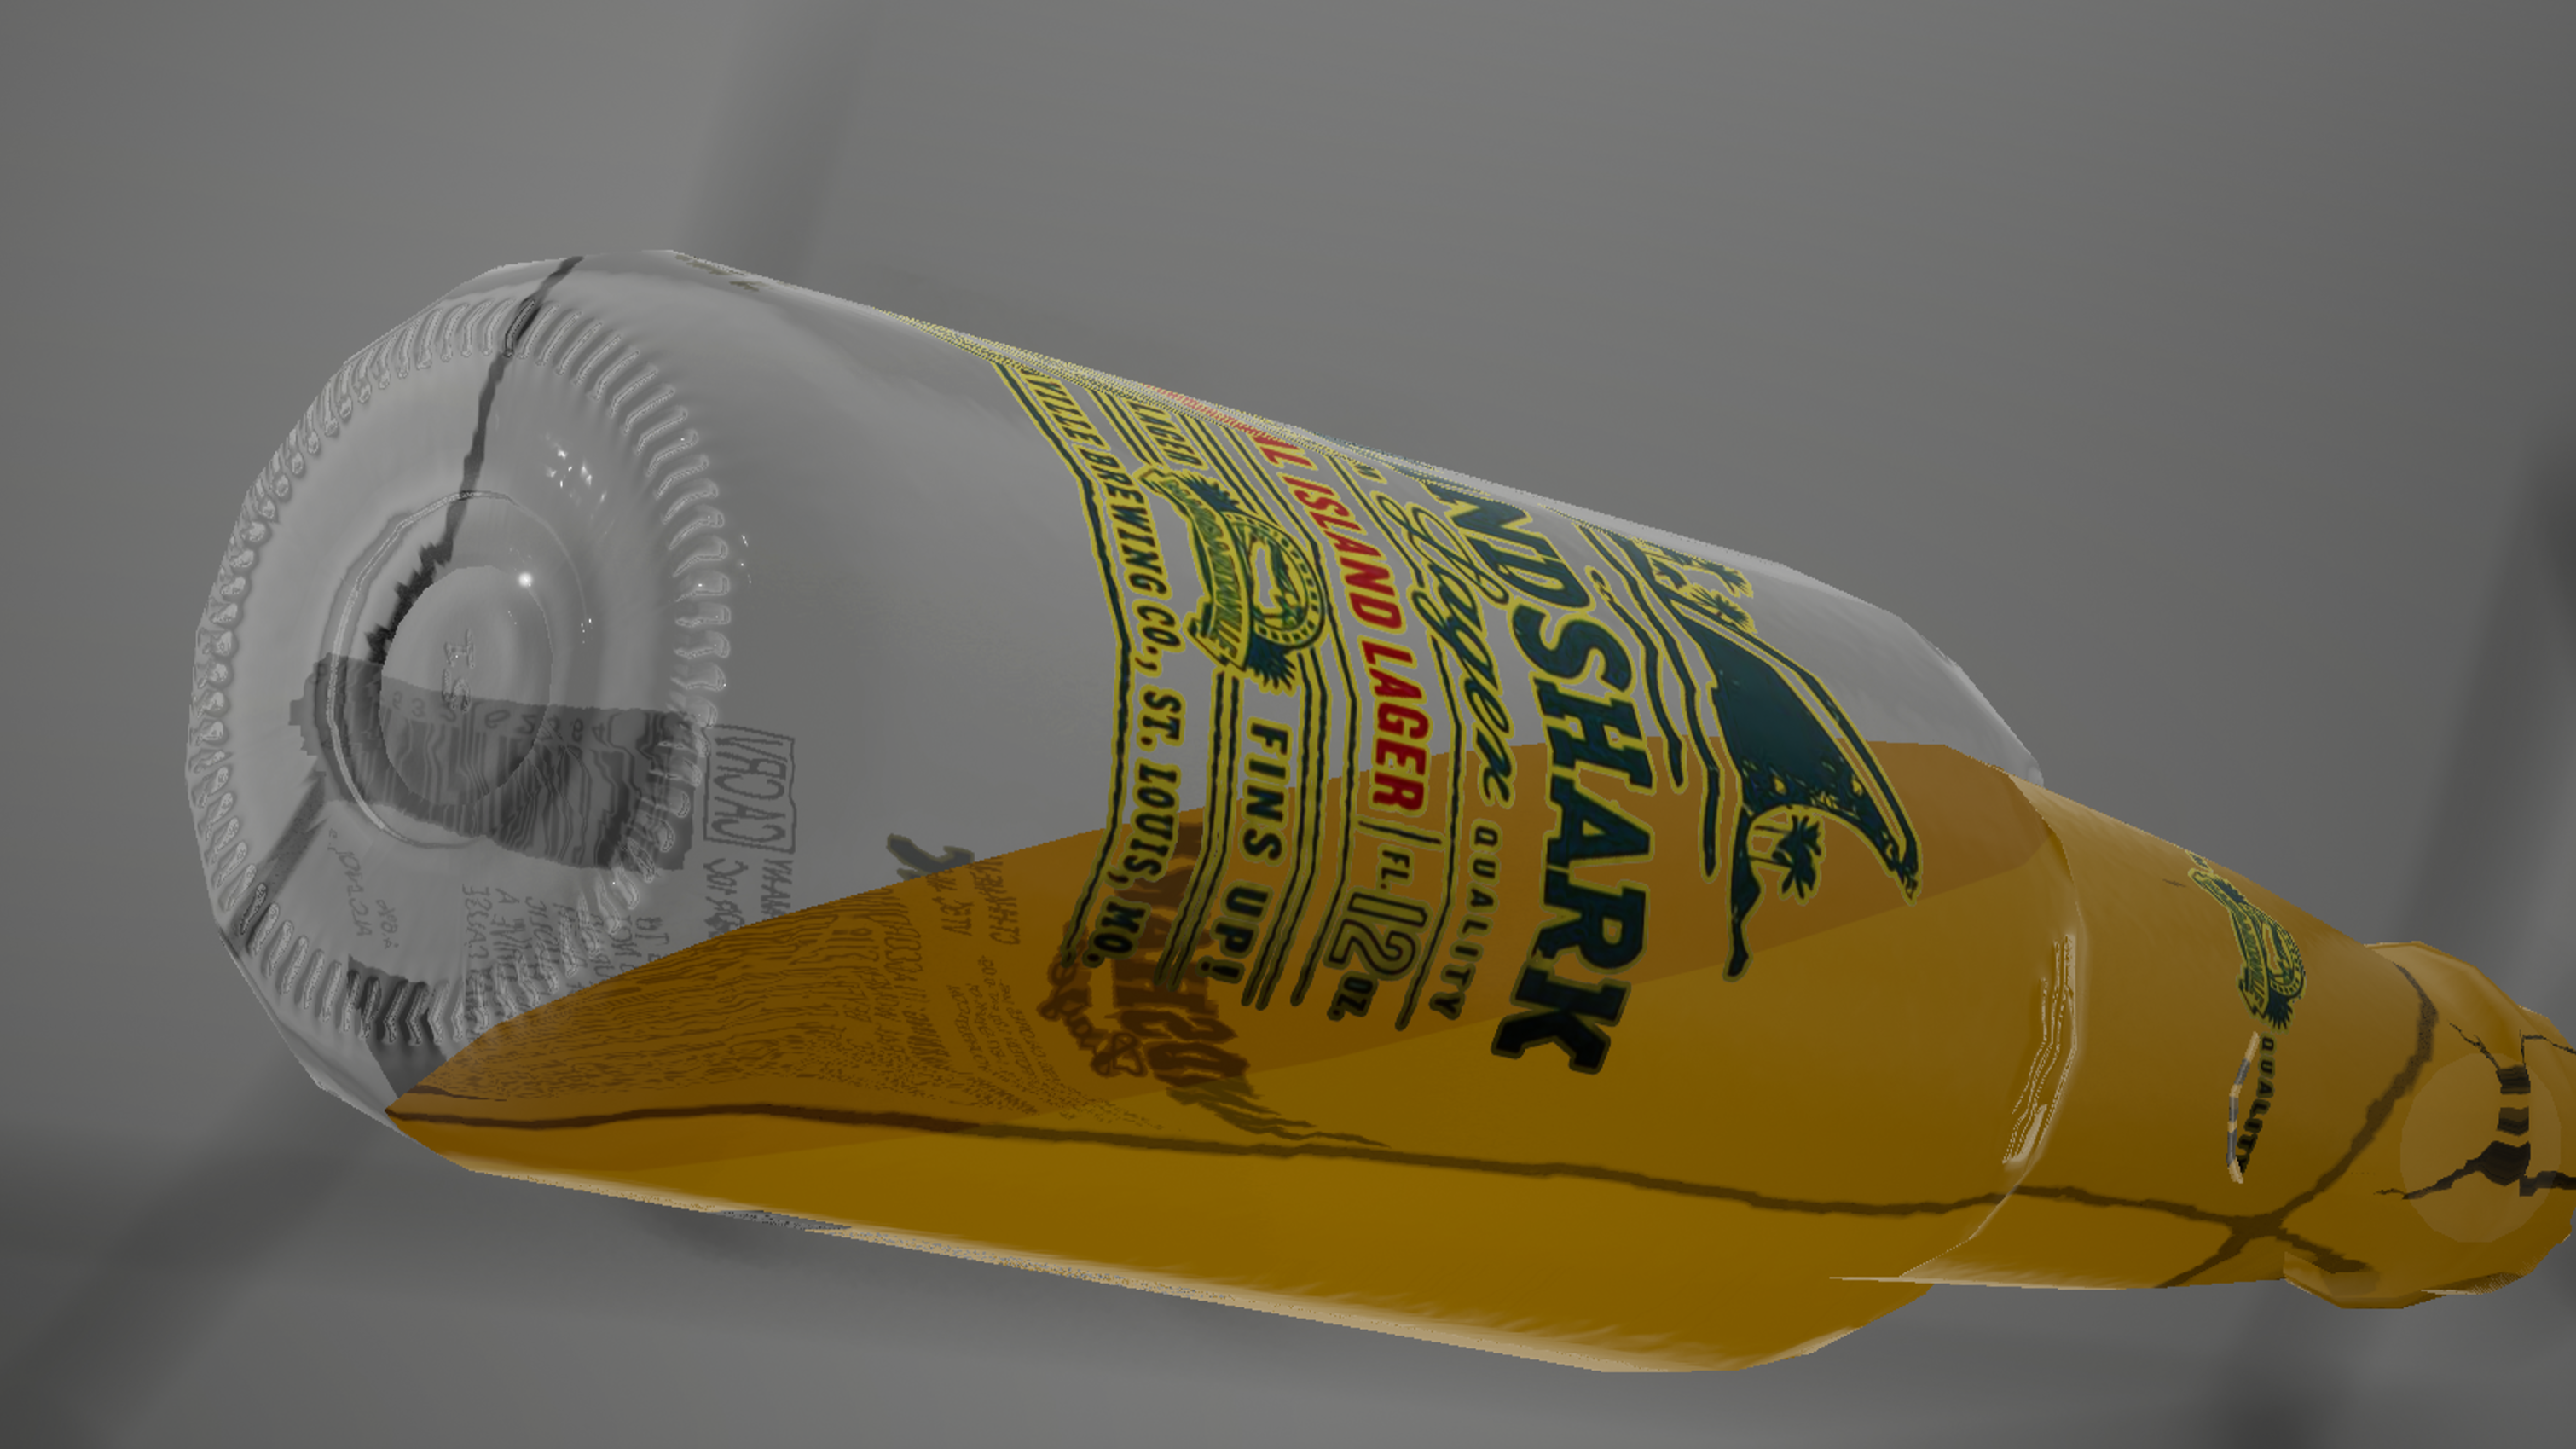
As you can see below, I didn’t recreate it one-to-one, but I did throw in a couple extra features. Namely, my setup uses actual translucency and has dynamic foam:

Breakdown:
For reference, I’ve included the graphs here as embeds from blueprintue.com, which is a super cool site where you can literally just copy and paste blueprints and materials and view and share them on the web. The only downside is that I used lots of named reroute nodes for the material to keep things tidy, and the names don’t get transfered for whatever reason, so I’ve also uploaded images of the graph here.
I’d recommend making them fullscreen so you can zoom normally.
Blueprint
Material
Here’s a page with screenshots of the graph.

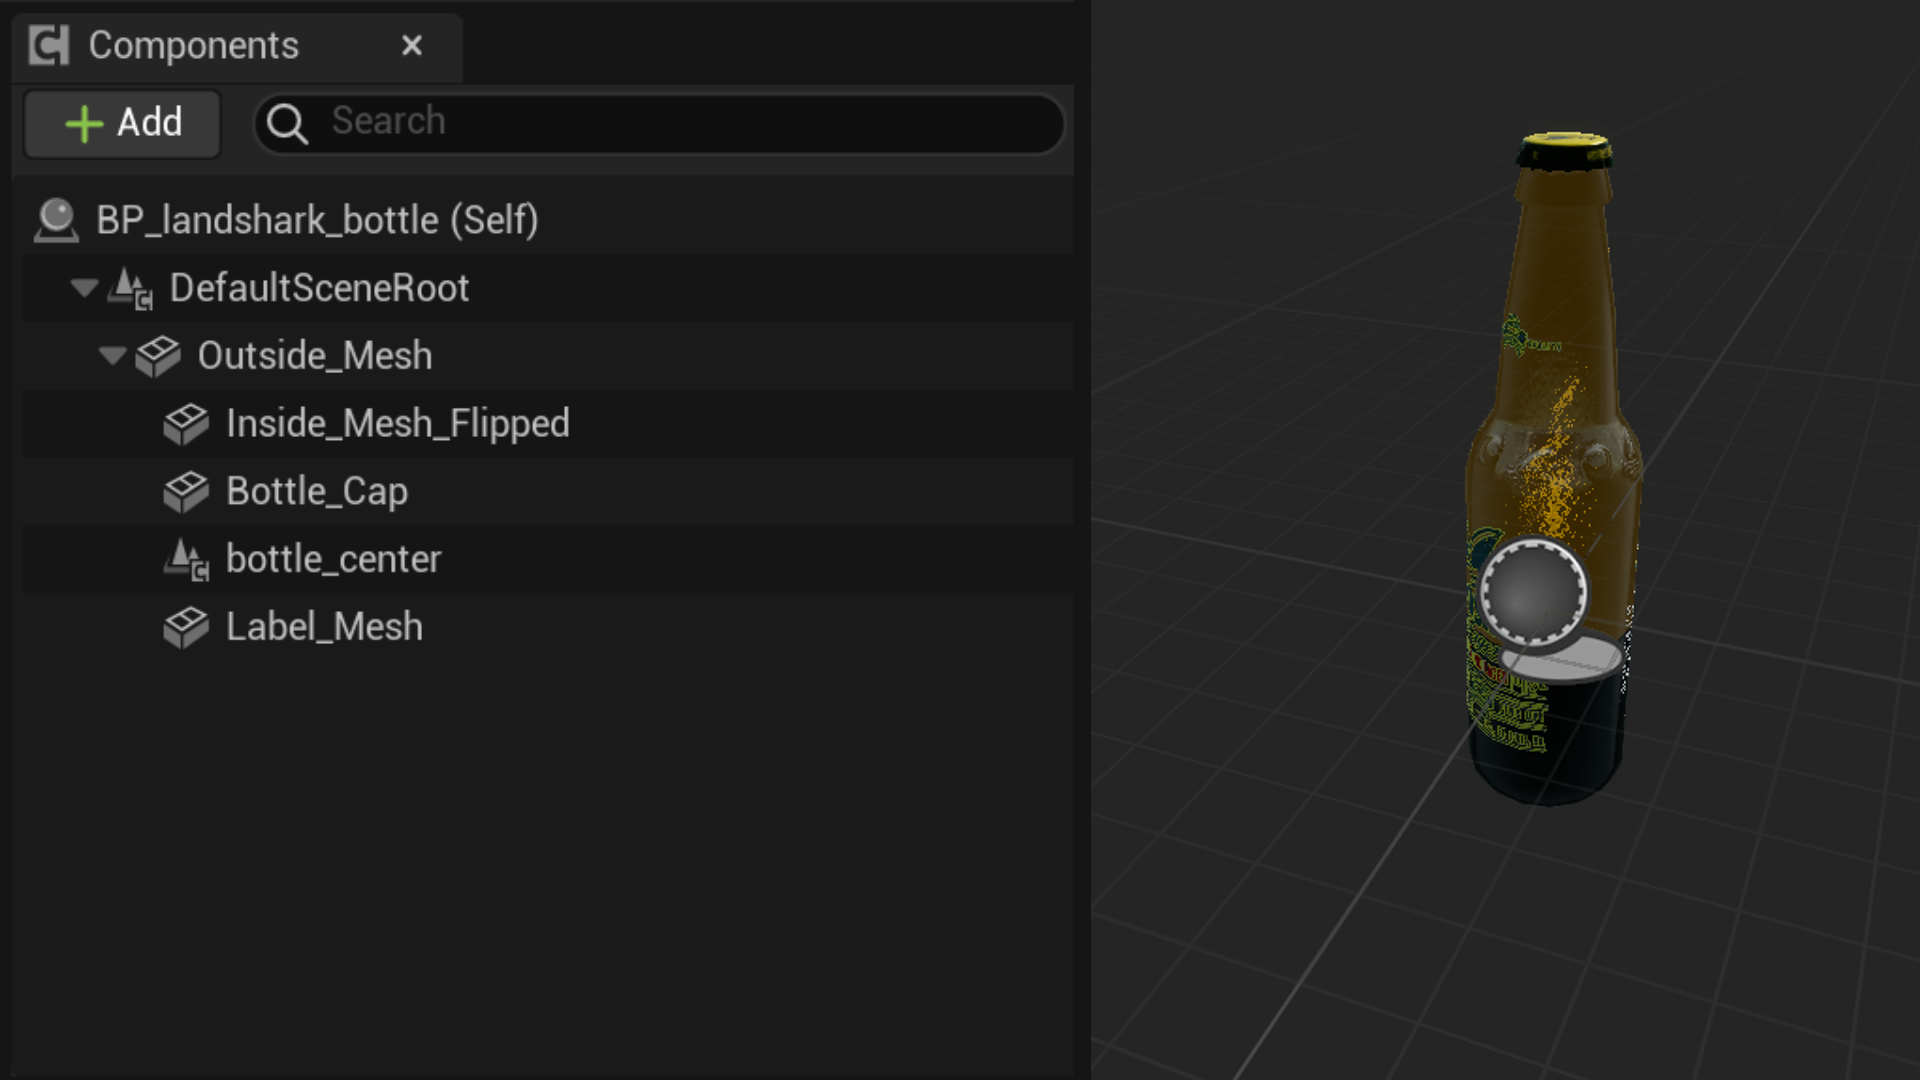
The Blueprint actor contains three meshes, and translucent outside mesh that’s shaded with the glass and beer, a not-visible mesh that outputs a mask to a custom depth buffer to isolate the liquid top surface, an opaque masked inside mesh that shades the backsides of stickers (which is a separate mesh so it’s included in the opaque scene buffer and thus affected by the refraction in the translucent material). Both the outside and mask meshes have position and normal vectors set by the blueprint, and use that to mask the area above and below the liquid surface by subtracting the pixel position by the liquid surface position and taking the dot product with the liquid surface normal to get a black and white mask. The inside (flipped) mesh is assigned a custom depth stencil value, which the outside material uses to get a mask of just the liquid surface, and then uses those to shade each area separately.
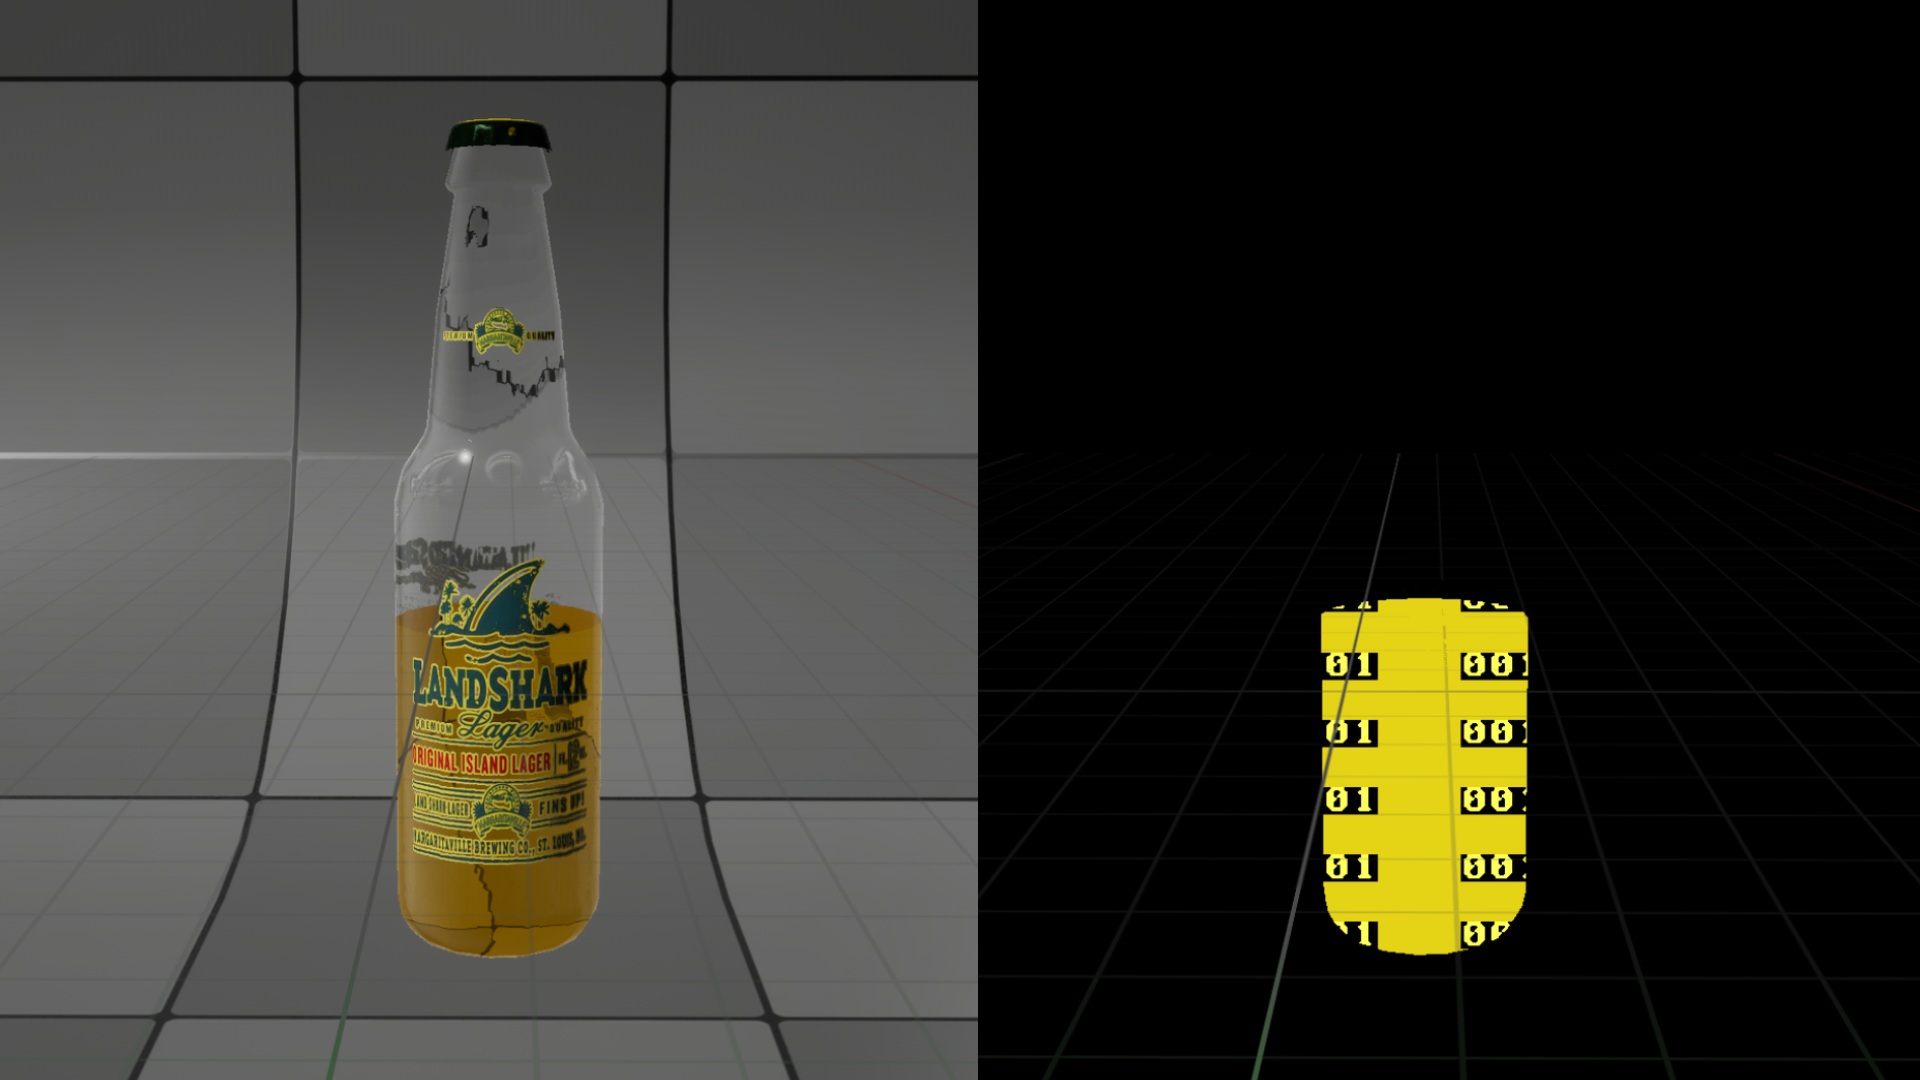
Pictured is the custom stencil mask for the liquid area of the back surface of the bottle. Of course, a few issues with this approach are that firstly, an entire custom mask for one asset is a bit impractical in an actual game context - it’s not very memory efficient. Additionally, the material uses the same stencil index for all the bottles. As a consequence, bottles that should occlude each other instead blend together. For the deferred render pipeline, there’s not much you could do other than add more stencils and separate passes.
The blueprint calculates the liquid surface position and rotation by calculating X and Y magnitude values that are increased when a point above the bottle’s origin changes position (the point is above the origin so rotation also changes position), and continually decreased by a factor proportional to the current magnitude for that axis, so there is a smooth falloff when the bottle stops moving and liquid comes to a state of rest. These magnitude values are multiplied by sine functions of time to combine into the X and Y elements of the up vector of the plane, so magnitude values of 0 will result in completely still surface, and values of 1 will make the liquid surface slosh back and forth vigorously.
These magnitude values are also used to interpolate between still and upset values for the foam level, foam opacity, and foam UV jiggle that are sent to the outer mesh material.
The non uniform liquid surface is calculated by taking the masks for the front and back faces of the bottle in their separate materials (both materials need to calculate a mask, only one needs to use it) using them to offset the output of three sine material functions I made that take the world X position of each pixel to calculate a Z value, offset by the mask, that creates a sine wave mask along the outer edge of the bottle to represent the surface of the liquid. The sine functions have “wave_height” attributes that are multiplied by the per-axis magnitudes added together to make the surface still when at rest, and upset when moved until the “liquid” settles. Since the two materials use the same authored values to create the look of the upset liquid, a material parameter collection referenced in the materials stores these values so they only need to be adjusted in one place.
So, all together now, putting one of the bottle blueprints in a simple sequence where it’s “shook” (rotated back and forth), with the blueprint sending the materials vectors, creating masks from this information, and then offsetting them with some sine wave functions, you get this:
To emulate looking though the bottle, since this setup uses actual transparency (instead of the more performant but less pretty approach faking it via cubemaps used in Half Life: Alyx), the pixel normal is multiplied by the normal map I made for the bottle asset, which has impressions of the logo, the stamped texture at the bottom of the bottle, and warbly surface of the glass, and used that combined as the UV for the scene texture. For the liquid area, since colored refractions aren’t supported in Unreal, the scene color is blended with the beer color to to emulate looking through the beer at the scene.

Finally, the foam is a simple texture (I remember briefly exploring rendering thin-film translucency or rendering foam as some kind of volume, but it was bit out of scope for this project) that is mapped in two ways: when agitated, the mask that defines the upper surface of the liquid based off of off the Fill Level parameter is increased above the fill level, and that area above is shaded as foam, with UVs along the bottle surface. Additionally, the top of the liquid surface is also shaded to be foam, but uses some math to make the UVs appear to be the actual liquid plane by using the liquid position, surface normal, and the camera orientation. It fades out from the center using radial gradient, which emulates the fading and swirling behavior I noticed when shaking bottles and staring at them for hours.
-
There’s also this 2kilksphilip video that more accurately conveys how I felt playing the game, seeing these ridiculously cool bottles ↩
-
Here’s what I had at the end of that week by the way - most of it is there, but also only the easy parts, and even those parts poorly implemented. Also the graph was a total mess then; I’m very glad I couldn’t find any screenshots of it even just to make fun of myself, because I would’ve, and it would’ve been maximum painful. ↩
